January 4, 2026
Best Practices for Substrate Moisture Control
Guide to substrate moisture control: RH probe and CaCl testing, acceptable thresholds, vapor barriers, waterproofing, and substrate prep for durable tile installations.
Guide to substrate moisture control: RH probe and CaCl testing, acceptable thresholds, vapor barriers, waterproofing, and substrate prep for durable tile installations.
Controlling substrate moisture is critical for durable tile and stone installations. Excess moisture can lead to tile fractures, mold growth, and structural damage. Here’s what you need to know:
Moisture management ensures your tile installation lasts, avoiding costly failures. Use quality materials, accurate testing, and thorough preparation to protect your investment.
Before installing tile, it’s critical to measure the moisture content of your substrate. Accurate testing ensures the substrate is ready for installation and prevents costly failures down the line. Here’s a breakdown of three key methods, each suited to different conditions and substrate types.
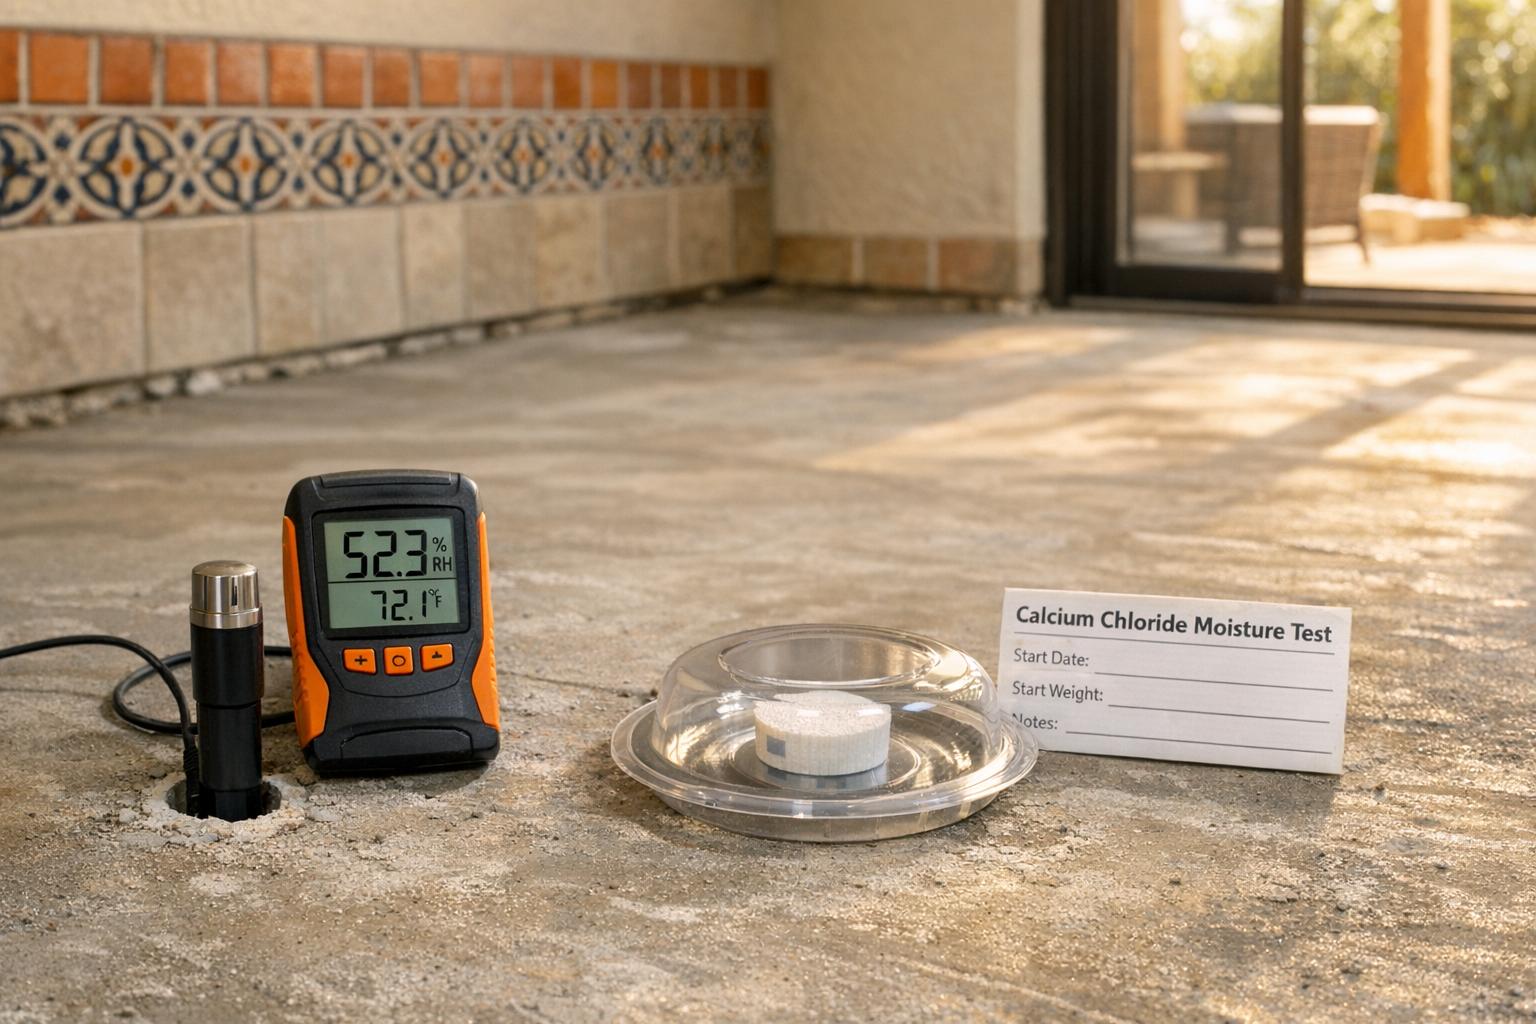
Calcium Chloride Testing (ASTM F1869) is a common method for measuring moisture vapor emissions from concrete. It involves placing small dishes of anhydrous calcium chloride on the slab for 60 to 72 hours. The weight change in these dishes is used to calculate the Moisture Vapor Emission Rate (MVER), reported in pounds per 1,000 square feet per 24 hours. For moisture-sensitive membranes, acceptable MVER levels usually fall between 3 and 5 pounds.
This method is relatively low-cost, with individual test kits priced at about $12 and a precision scale (accurate to 0.1 grams) costing around $125. However, it only evaluates the top ½ to ¾ inch of the concrete and is highly influenced by ambient conditions. Howard Kanare, Principal Scientist at CTLGroup, highlights a key limitation: in slabs stabilized at 50% humidity, the test can yield false positives because "the desiccant in the CaCl₂ kit was actually sucking out more moisture than was coming out of the concrete." Additionally, this method isn’t suitable for lightweight aggregate or gypsum-based substrates.
For a deeper look into internal moisture levels, Relative Humidity Probe Testing is the next step.
Relative Humidity (RH) Probe Testing, following ASTM F2170 standards, is widely regarded as the most reliable method for assessing moisture in concrete. This technique uses electronic sensors placed in drilled holes to measure internal moisture levels as a percentage. Unlike surface tests, this method predicts the equilibrium moisture level that will exist at the surface after the flooring is installed. For most tile applications, an RH level of 75% or lower is considered acceptable.
High-quality RH meters typically cost around $400 and meet national traceability standards. Probes require about 24 hours to stabilize after installation, and because they measure internal moisture, they’re less affected by surrounding conditions. Jason Spangler, Sales Manager at Wagner Meters, emphasizes the reliability of this approach: "The moisture test method of choice is in-situ relative humidity (RH) testing. It's been scientifically proven... for accuracy and reliability."
For best results, proper probe placement is crucial, as described in the in-situ testing guidelines.
Correct probe placement is essential for accurate readings. For slabs drying from one side, probes should be installed at 40% of the slab’s thickness. If the slab is drying from both the top and bottom, place the probes at 20% depth. These positions represent the equilibrium moisture levels expected after installation.
To ensure thorough testing, conduct at least three tests per 1,000 square feet, adding one test for every additional 1,000 square feet. Perform these tests only after the building is enclosed, with HVAC systems running for at least 48 hours to simulate normal conditions. Before testing, prepare the areas by scraping or grinding away adhesives, sealers, or curing compounds that could interfere with results.
Given that moisture-related flooring failures account for over 90% of flooring claims - costing more than $1 billion annually - these tests are a critical step in protecting your investment.

Moisture Testing Methods and Acceptable Thresholds for Tile Installation
Once testing is complete, it's crucial to confirm that moisture levels fall within safe limits. Exceeding these thresholds can lead to serious issues like adhesive failure, tile detachment, and mold growth.
For concrete substrates, the standard guideline is a relative humidity (RH) reading of 75% or lower for most tile and resinous flooring applications. If you're using calcium chloride testing to measure the Moisture Vapor Emission Rate (MVER), the limit is generally 5 lbs per 1,000 square feet over 24 hours. However, without a moisture barrier, some manufacturers might permit up to 10 lbs per 1,000 square feet over 24 hours. Always consult the manufacturer's specifications to ensure compliance with the acceptable RH levels for your specific materials.
Wood substrates require a different set of standards. For interior wood flooring, the moisture content (MC) should range between 6% and 9%. For interior woodwork, a slightly tighter range of 6% to 8% is advised. Construction lumber, often used in building structures, can handle moisture levels between 9% and 14%. Additionally, wood should be acclimated to within two percentage points of the Equilibrium Moisture Content (EMC) of its intended environment. Moisture levels above 14% can lead to problems like fastener corrosion and structural weakening, while levels exceeding 25% significantly increase the risk of mold growth.
| Substrate Material | Testing Method | Acceptable Maximum |
|---|---|---|
| Concrete | Relative Humidity (ASTM F2170) | 75% RH |
| Concrete | Calcium Chloride (ASTM F1869) | 5 lbs/1,000 ft²/24 hrs |
| Wood (Interior/Flooring) | Moisture Meter (Pin/Pinless) | 6% – 9% |
| Wood (Construction) | Moisture Meter (Pin/Pinless) | 9% – 14% |
It's always essential to follow the specific manufacturer's guidelines for your flooring, adhesive, or waterproofing products rather than relying solely on general recommendations. Some materials are more forgiving of higher moisture levels, while others - like large-format tiles with minimal grout lines - are particularly sensitive to moisture issues.
With these moisture thresholds in mind, the next step is to focus on implementing effective mitigation systems and barriers to maintain the required standards.
When moisture levels exceed acceptable limits, it's crucial to use mitigation systems that protect your tile installation from long-term damage. These systems work by either blocking moisture vapor from rising through the substrate or preventing liquid water from reaching the tile assembly. The type of barrier you choose depends on the kind of moisture present. Properly applied, these methods help ensure your substrate stays within safe moisture limits before installation begins.
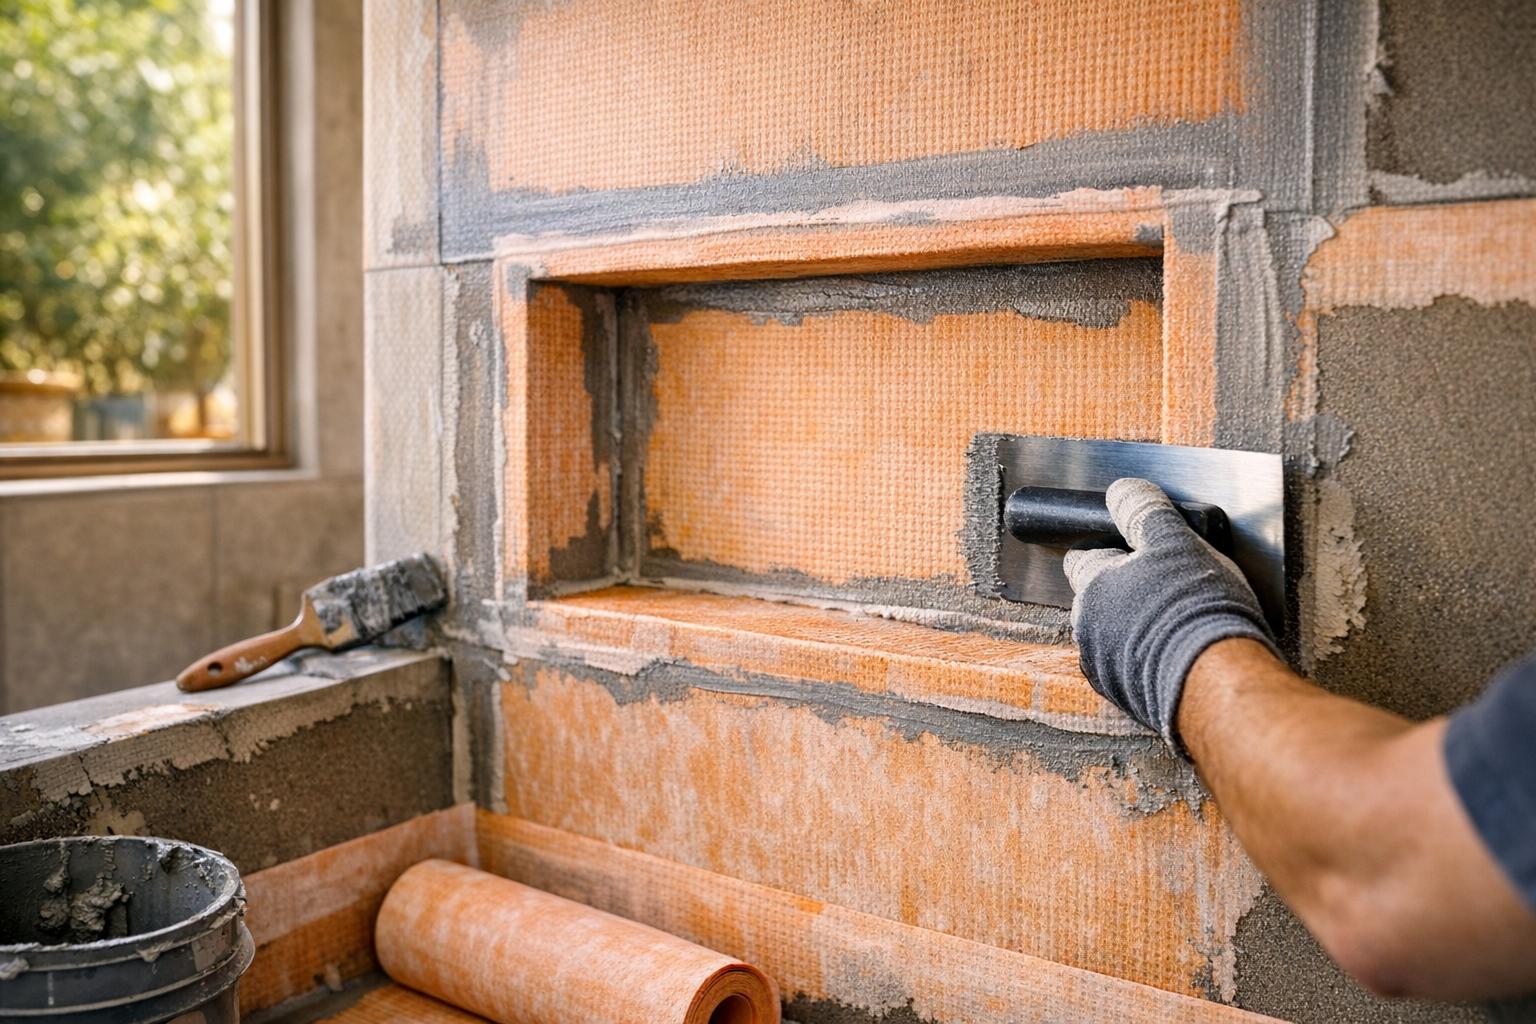
Epoxy vapor barriers are a reliable solution for high-moisture environments. These barriers, made from 100% solids formulations, can dramatically reduce moisture vapor emissions - from 25 lbs per 1,000 ft² over 24 hours to less than 3 lbs with just a single coat. One major advantage of epoxy barriers is their compatibility with "green" or freshly poured concrete. Some products can be applied as soon as three days after the concrete is poured, whereas standard waterproofing membranes require the concrete to reach 75% relative humidity or lower before installation. This makes epoxy barriers an excellent choice for projects with tight schedules or consistently damp slabs. However, it's important to note that epoxy barriers are designed specifically to control vapor, not liquid water infiltration.
While epoxy barriers are designed to manage vapor, waterproofing membranes focus on blocking liquid water, providing complementary protection. Liquid-applied membranes create seamless barriers that are ideal for irregular or complex areas. These membranes require multiple coats, with proper drying time between applications.
Sheet membranes, like Schluter-KERDI, offer consistent thickness and faster installation. Many sheet membranes also function as uncoupling membranes, which help manage the expansion and contraction of wood-based subfloors. Additionally, modern foam backer boards, such as KERDI-BOARD, combine structural support with waterproofing, eliminating the need for traditional cement board or mortar beds.
When deciding between liquid and sheet membranes, consider the project's complexity and timeline. Liquid membranes work well in tight spaces or areas with irregular shapes, while sheet membranes provide speed and uniformity for simpler installations. Both types are suitable for substrates with moisture vapor emission rates of 5 lbs per 1,000 square feet over 24 hours or relative humidity levels of 75% or lower. For substrates with higher moisture levels, it’s recommended to first apply an epoxy vapor barrier, followed by a waterproofing membrane for added protection.
Before you can apply any moisture barrier or waterproofing system, the substrate must be properly prepared. This step is crucial because it lays the groundwork for effective moisture control. A clean, stable substrate is the backbone of every successful tile installation.
Start by thoroughly inspecting the subfloor. Check for visible issues such as rot in wooden sections, loose fasteners, cracks in concrete, or white powdery deposits known as efflorescence. That white residue indicates moisture migration, which brings minerals to the surface and must be dealt with before proceeding. Tighten any loose fasteners, replace damaged wood, fill cracks or gaps, and clear away debris, dust, old adhesives, paint, and curing compounds. These materials can interfere with bonding and slow down drying.
Concrete drying doesn’t truly begin until the building is enclosed and the HVAC system is operational. According to LATICRETE technical data, "A building that is not fully enclosed will not show a pressure differential that will cause the concrete to begin losing moisture". Depending on the water-to-cement ratio (usually between 0.50 and 0.70), concrete can take anywhere from 3 to 9 months to reach 90% relative humidity under proper conditions.
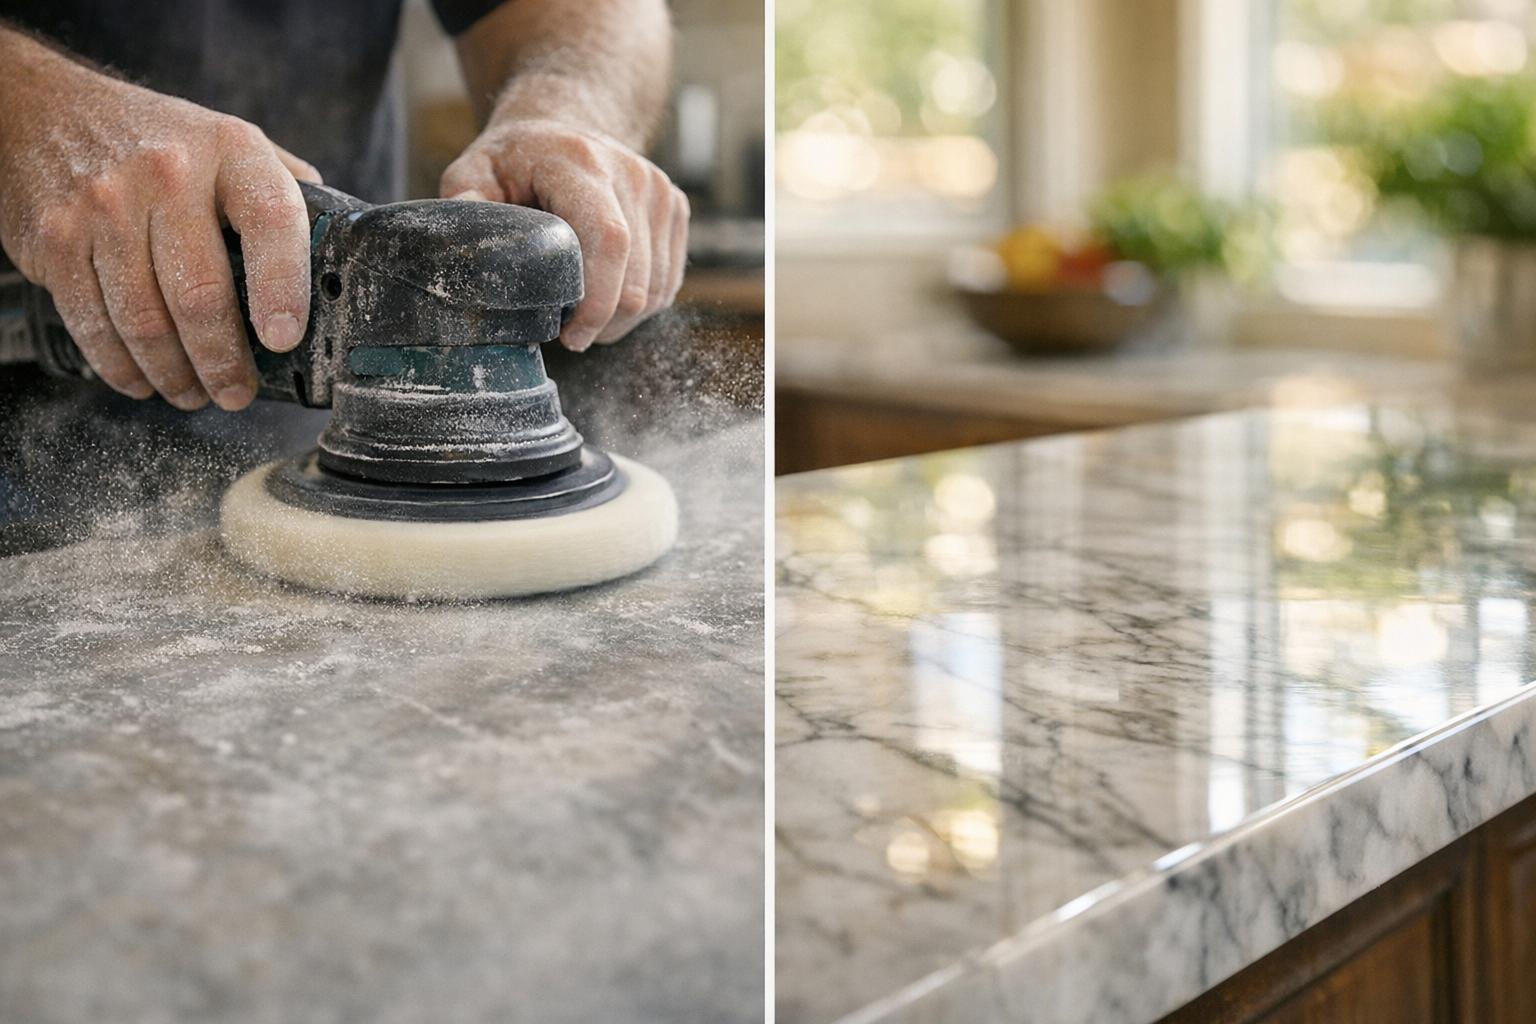
Once structural repairs and cleaning are complete, level the surface as needed. Grind down high spots or use a self-leveling compound to create an even base. Then, conduct moisture testing suitable for your substrate - use relative humidity probes for concrete or moisture meters for wood. Only proceed with primers, sealers, or barrier systems after confirming that moisture levels are within acceptable limits (75% RH or lower for concrete, or 2–4% moisture content for wood, depending on the flooring material).
Primers and sealers play a key role in managing moisture. They help control pH levels in concrete, improve adhesive bonding, and provide an extra layer of moisture resistance. Epoxy moisture vapor barriers, for instance, can reduce emission rates from over 20 lbs to less than 3 lbs per 1,000 ft² in 24 hours. These 100% solids epoxy coatings are especially useful for "green" or freshly poured concrete that hasn’t yet reached optimal moisture levels.
When applying liquid membranes - whether with a brush, roller, or trowel - use a wet film thickness gauge to ensure the application meets the manufacturer’s specifications. Insufficient thickness can compromise the barrier’s effectiveness. These seamless barriers also help prevent efflorescence, which is the migration of salts from concrete to the tile surface. Always confirm that your primer or adhesive is rated for wet environments; some latex-based products are intended for dry interiors and won’t hold up in moisture-prone areas.
Once the substrate is sealed and primed, the next step is to address environmental factors to maintain moisture control.
Proper airflow and drainage are essential for keeping the substrate dry. For interior installations, ensure the HVAC system is running and use dehumidifying fans to speed up drying. Jason Spangler, Sales Manager at Wagner Meters, emphasizes that "by improving ventilation and airflow and ensuring the HVAC system is up and running, you can speed up the [concrete drying] process".
For exterior installations, focus on drainage and grading. Ensure the site is graded so water slopes away from the slab, preventing pooling from rain, snow, or sprinklers. Beneath the slab, a 6–8 inch layer of coarse gravel or crushed stone acts as a capillary break to stop groundwater from wicking upward. Outdoor tile installations require a substrate slope toward a drainage point with a minimum gradient of 1:100 (a 10mm drop per meter of length). To manage hydrostatic pressure - water pushing against the underside of the slab - systems like French drains, curtain drains, and sump pumps are effective solutions. As LATICRETE explains, "Negative Hydrostatic Pressure... can be alleviated or dissipated by the use of sump pumps, foundation drainage (French drains, curtain drains, etc…), or good landscaping practices".

Skyline Tile has refined waterproofing and moisture control techniques to meet the specific challenges of Sacramento's climate. Their services focus on ensuring durable residential and outdoor tile installations while addressing the moisture-related risks previously discussed. Sacramento's climate, with its porous concrete slabs and seasonal rainfall, creates unique challenges. Moisture often seeps upward through concrete, bringing salts that cause efflorescence. During the rainy season, the high humidity further complicates concrete drying, requiring adjustments like a 1.4 correction factor for drying times.
For residential installations, Skyline Tile tailors its approach to the project's needs. They use anti-fracture and uncoupling membranes on wood-based subfloors to prevent cracks. For large-format tiles (15+ inches), they ensure precise flatness with self-leveling compounds and perform stringent moisture testing, especially given the thin grout lines that leave little room for error.
Skyline Tile employs advanced moisture testing techniques to ensure the substrate is ready for installation. This includes in-situ relative humidity (RH) testing, where probes are placed at 40% depth to obtain accurate moisture levels. As Wagner Meters explains:
"The only way to know for certain that the concrete slab is dry enough is to conduct a relative humidity test and take moisture readings deep within the concrete".
The team ensures all installations meet established moisture criteria before proceeding.
Premium materials are central to their process. For waterproofing, they rely on top-tier membranes like LATICRETE HYDRO BAN, HYDRO BAN XP, and 9235 Waterproofing Membrane to prevent moisture-related problems and provide anti-fracture protection. When dealing with slabs that have high moisture vapor emission rates, they use epoxy-based systems such as SPARTACOTE Moisture Vapor Barrier and NXT Vapor Reduction Coating. These systems can dramatically reduce emissions from over 20 lbs/1,000 ft²/24hr to less than 3 lbs/1,000 ft²/24hr. For outdoor and wet areas, high-performance waterproofing membranes - whether liquid-applied or sheet-based - are used to safeguard against structural damage and mold growth.
Skyline Tile’s service extends beyond just applying waterproofing materials. They meticulously prepare surfaces, remove residual curing compounds, verify environmental conditions, and optimize drainage for exterior spaces. Their work adheres to California building codes and is backed by a 5-year workmanship warranty, providing homeowners peace of mind with long-lasting, moisture-resistant tile and stone installations. These practices form the foundation of Skyline Tile's all-inclusive service package.
Managing moisture is essential for ensuring durable tile and stone installations. As Wagner Meters aptly states, "Unmanaged moisture endangers the flooring system's integrity".
Here’s what you need to know: using in-situ relative humidity (RH) testing is critical for assessing moisture deep within the concrete slab. Installations should only proceed once the concrete achieves an RH level of 75% or lower. For projects on tight timelines, high-performance epoxy vapor barriers can significantly reduce moisture vapor emission rates - from over 20 lbs/1,000 ft²/24hr to less than 3 lbs. Keep in mind, though, that concrete with a 0.8 water-to-cement ratio may require up to a year to dry completely, so planning ahead is crucial.
Jason Spangler, Sales Manager at Wagner Meters, underscores the importance of taking preventative steps:
"If you take steps to prevent exposure to moisture prior to installing the tile floor, you can minimize the risk of costly moisture-related issues".
For Sacramento homeowners tackling bathroom renovations, kitchen backsplashes, or outdoor stonework, professional moisture management can be the difference between a stunning, long-lasting installation and one prone to early failure. Skyline Tile combines advanced RH testing, high-quality waterproofing materials like LATICRETE HYDRO BAN, and thorough substrate preparation to protect your investment from the very start.
With a 5-year workmanship warranty and strict adherence to California building codes, Skyline Tile ensures installations that stand the test of time. Their commitment to effective moisture management not only safeguards your project but also provides peace of mind - because durability and value go hand in hand.
Calcium Chloride (CaCl) testing and Relative Humidity (RH) probe testing are two widely used methods for assessing moisture in concrete slabs. While both aim to evaluate moisture levels, they operate differently and are suited for distinct purposes.
CaCl testing focuses on measuring surface moisture vapor emission. This process involves placing a pre-weighed dish of calcium chloride under a sealed dome on the slab's surface for 60–72 hours. The increase in weight is then used to calculate the moisture vapor emission rate (MVER), which is expressed as pounds of water per 1,000 square feet over a 24-hour period. This testing method is popular among flooring manufacturers because it doesn't require specialized equipment. However, it only assesses moisture near the slab's surface and can take a significant amount of time to complete.
RH probe testing, on the other hand, measures internal moisture levels within the slab. To perform this test, holes are drilled to about 40% of the slab's thickness, and a calibrated probe is inserted to record the relative humidity at that depth. This approach delivers quicker results and provides a more detailed picture of moisture within the slab. However, it does require specialized tools and is not as universally accepted by flooring manufacturers.
In essence, CaCl testing is a straightforward method best suited for surface-level moisture evaluation, while RH probe testing offers a more in-depth analysis of internal moisture, making it valuable for specific scenarios.
To properly integrate epoxy vapor barriers and waterproofing membranes, it’s crucial to follow a step-by-step approach that tackles moisture control at every stage. Begin by placing a vapor barrier beneath the concrete slab. This layer helps block moisture from seeping upward, keeping the substrate dry enough for the next steps to bond and cure effectively.
Once the concrete slab has been tested and meets moisture standards, apply a waterproofing membrane. This can be either liquid-applied or sheet-based, depending on your project needs. Be sure to follow the manufacturer’s guidelines and carefully seal all seams to ensure full coverage. After the membrane has cured, you can add an epoxy coating as the final, vapor-impermeable layer. This combination creates a durable, moisture-resistant surface that helps avoid common problems like efflorescence, blistering, or bond failure.
Skyline Tile, based in Sacramento, specializes in moisture-controlled installations for both residential and outdoor projects. From testing to the application of vapor barriers, membranes, and epoxy finishes, they handle every detail to deliver long-lasting, high-quality tile and stonework.
Proper preparation of the substrate is critical for achieving a long-lasting and visually pleasing tile or stone installation. A substrate that is stable, clean, and dry allows adhesives to bond effectively, helping to avoid problems like cracking, discoloration, or weakened structural strength. Contaminants such as dust, oils, or excess moisture can disrupt this bond and lead to significant issues over time.
For instance, excess moisture in the substrate can cause wood subfloors to expand and contract, which may result in cracks or adhesive failure. It can also encourage mold growth or lead to efflorescence - problems that often demand expensive repairs. Essential preparation steps include conducting moisture tests, using vapor barriers, and ensuring the substrate is level and completely dry.
At Skyline Tile, we focus on detailed inspections and strict moisture control to establish a strong foundation for every project. This meticulous approach ensures durable, beautiful results that meet both structural and aesthetic expectations.